Install a dryer vent: Installing a dryer vent may seem like a daunting task, but with the right guidance and tools, it’s a manageable DIY project that can improve your home’s safety and efficiency. Here are 10 actionable tips to help you install a dryer vent like a pro.
1. Choose the Right Vent Location
Before you start, choose a location for the vent that minimizes the length of the ductwork. A shorter duct reduces the risk of lint buildup, improving airflow and efficiency. Aim for the shortest, most direct route to the outside.
2. Select the Appropriate Duct Material
Use a rigid metal duct made from aluminum or galvanized steel or semi-rigid aluminum for the vent. Avoid flexible plastic or foil ducts, as these are prone to kinks and can trap lint, increasing the risk of a fire.
3. Measure and Mark the Vent Path
Measure the distance from your dryer to the chosen exit point. Mark the path where the duct will run, ensuring there are no obstructions. This will help you plan for any necessary turns or extensions.
4. Drill the Vent Hole
Use a hole saw or drill to create a hole in the exterior wall where the vent will exit. The hole should match the size of the vent cap. Wear safety goggles and gloves to protect yourself from debris.
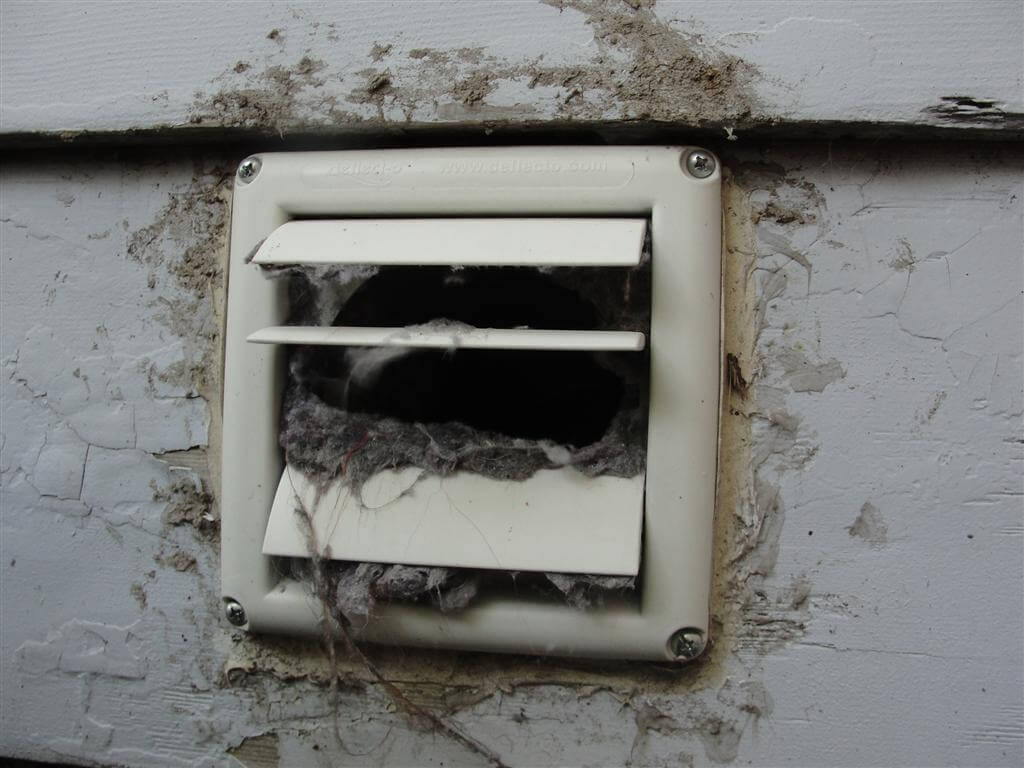
5. Install the Vent Cap

Secure the vent cap on the exterior wall with screws. Make sure the vent flap opens freely and isn’t obstructed. Seal around the cap with exterior-grade caulk to prevent drafts, moisture, and pests from entering your home. We love the No-Pest Dryer Vent Cover
6. Cut the Duct to Size
Cut the rigid metal duct to the appropriate length using tin snips. Ensure that the cuts are straight and smooth to prevent lint buildup. Be careful when handling sharp edges, and always wear gloves.
7. Connect the Duct to the Dryer – Install a dryer vent
Attach one end of the duct to the dryer’s vent outlet. Use a clamp to secure it tightly. Make sure the connection is snug and airtight to prevent lint from escaping into your laundry room.
8. Route and Secure the Duct
Route the duct along the marked path to the vent cap, avoiding any sharp bends that could restrict airflow. Secure the duct to the wall or ceiling with metal duct straps. Keep the duct as straight as possible to reduce airflow resistance.
9. Seal the Joints Properly
Seal all duct joints with foil tape, not duct tape, which can deteriorate over time. Properly sealed joints prevent air leaks and improve the efficiency of your dryer.
10. Test the Vent System – Install a dryer vent
Once everything is in place, test your dryer vent system. Run the dryer on a regular cycle and check the airflow at the vent cap outside. The flap should open easily, and you should feel a strong flow of air. If not, check for obstructions or leaks.
By following these 10 actionable tips, you can successfully install a dryer vent, ensuring your home remains safe and your dryer runs efficiently. Regularly clean and inspect your vent to keep it functioning optimally for years to come. Happy DIY-ing!